Posted on 12 Comments

3 Reasons Your Tomatoes Won’t Ripen

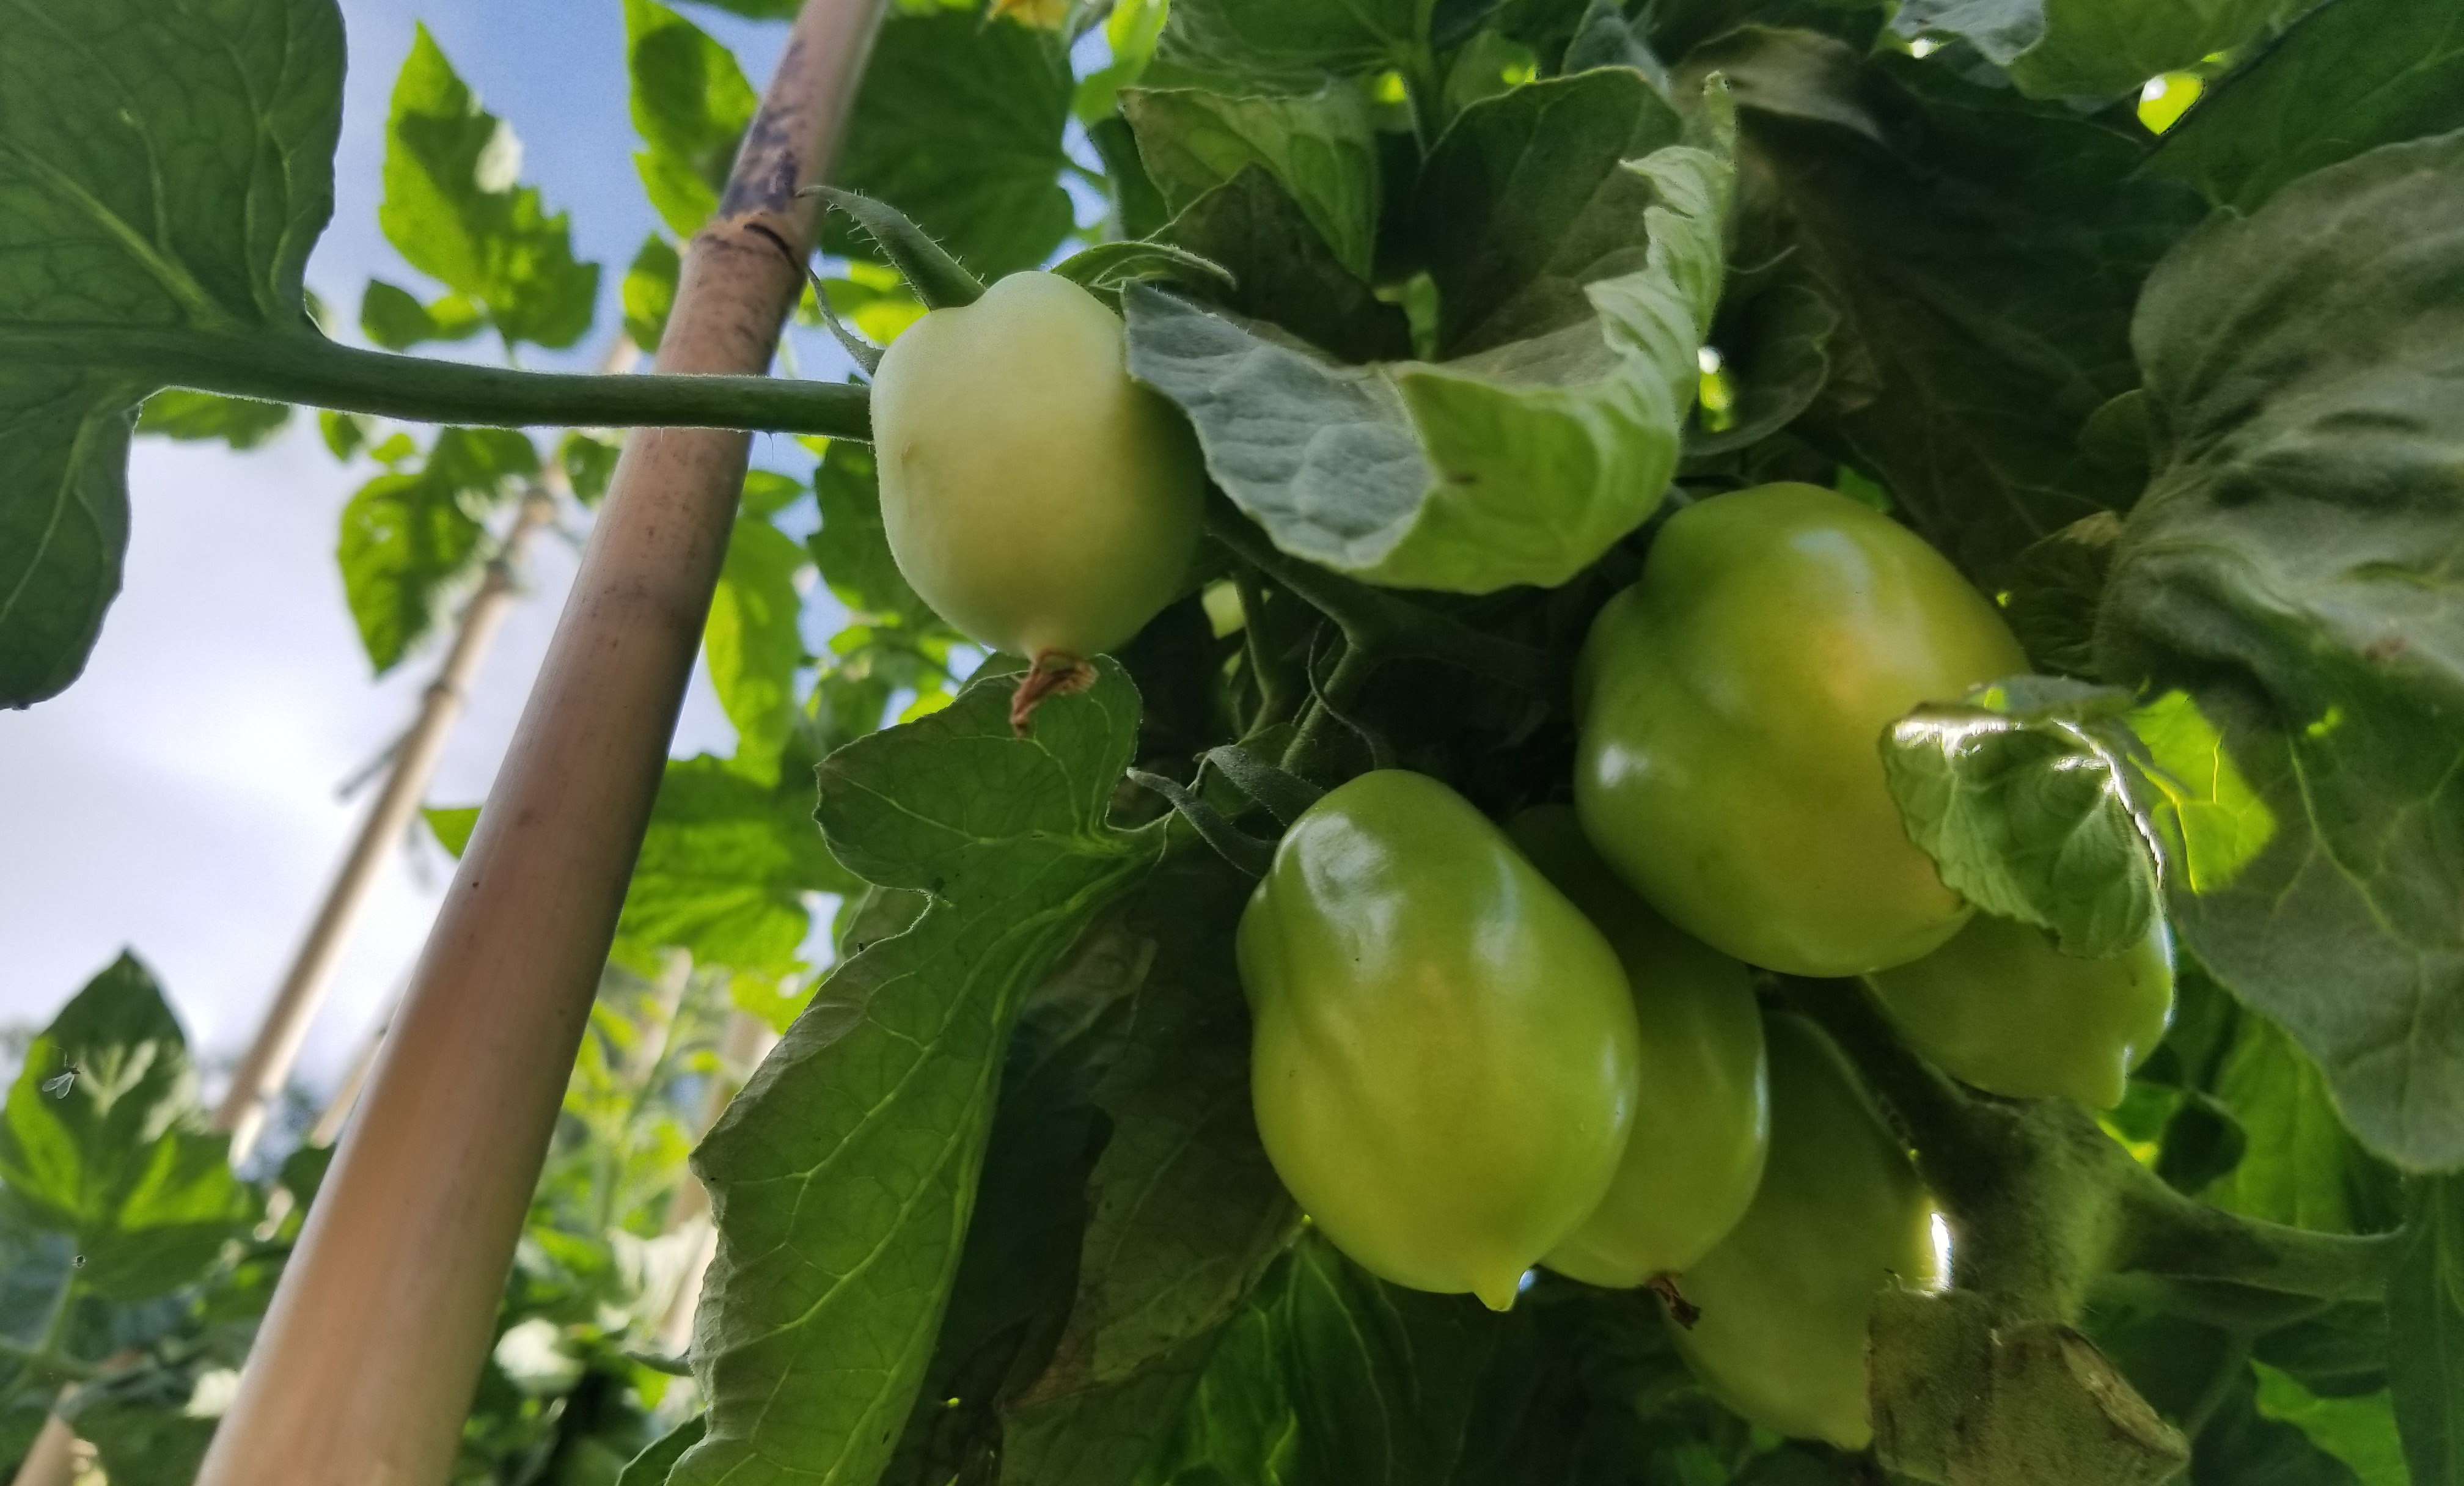
It’s the end of July, you planted your tomatoes over 2 months ago & the seed packet said you’d be able to harvest fruit in 60 days – why aren’t your tomatoes ripening & turning red?

There could be a few different factors playing a role in the ripening. But why do tomatoes turn red anyways?

  1. Temperature – This is the biggest factor in your tomatoes ripening. Here in Ohio, we typically don’t plant until around Mother’s Day. 60 days later we are expecting tomatoes; during the hottest time of the year. For the last week it has been over 90 degrees. The chemicals that make tomatoes red – lycopene & carotene – are only produced when the temperature is 50-85°F. If you’re outside of this range, the ripening process is on hold until you get some relief from the heat!
  2. Size/Variety – Size does matter when it comes to tomatoes ripening! I have already harvested some cherry tomatoes from rogue plants that grew from last year, but those Beefsteak tomatoes have got a ways to go! Patience, young grasshopper.20170723_180037
  3. Maturity Level – A little different from the previous point and maybe this seems a little common sense. Maturity is more than just the time a tomato spends on the vine. Again, the ripening process comes down to natural chemicals. When a tomato reaches maturity, it begins producing ethylene which then reacts with the tomatoes to cause them to turn red. You can use this knowledge to save any tomatoes that may have accidentally gotten knocked off the vine – put tomatoes in a paper bag & if they’re mature enough, they should produce ethylene and ripen over a few days.20170723_175729

Tomatoes are a tough crop to grow, but with a little patience & cooperation from Mother Nature, you can have salsa all summer! If you have any questions on How to Grow Tomatoes – check my guide here!


Posted on 4 Comments

Garlic Guide: Growing, Harvesting & Storing

It is the end of July here in Ohio. Normally it’s scorching hot & we’re dancing between 90-100 degrees at this time of the year, but this summer’s been a little cooler & a lot wetter. Since it’s getting to be July-August area, the garlic that you planted this past spring should be ready to harvest! But how do you know when the time is right to harvest your garlic? Here’s a simple guide below, plus you can check out my latest YouTube video that will give you a visual how-to guide for harvesting & storing Garlic.

Hardneck vs. Softneck

There are 2 different types of Garlic – each one has its own benefits, but the type you plant will depend on what your goals are. Below is more detailed info.

Hardneck varieties are more winter-hardy are characterized by a long, flowering stem (called a scape) growing from the middle. The scape will produce a pod that contains bulbils, which are smaller versions of garlic gloves & can be planted in the same way. Hardneck varieties form a single layer of cloves.

Softneck varieties have a stem that is softer & it is much less winter-hardy. When you see garlic braided – it is a softneck variety. This type does not have a scape that reproduces bulbils & that may be the reason that softneck can have bulbs yielding anywhere from 8-30 cloves per bulb! Compare that with hardneck varieties that typically yield 4-12 cloves per bulb – but the scape could contain hundred of bulbils!

(What is a bulbil?) A bulbil is basically a garlic seed that forms in the scape of hardneck types. They are much smaller & may take up to 3-4 years before you get a full-sized bulb!

Planting

  • Prepare beds that are 3-4′ wide, till in compost/manure and make sure beds are accessible from both sides (2 foot reach from each side).
  • Break cloves apart – the first year I grew garlic, I planted a whole bulb and didn’t realize I could have ended up with 20 bigger bulbs instead of the weird harvest I got!
  • Space cloves 4-6″ depending on the variety & how much space you want to give your plants. Closer planting may mean less weeds, but could also mean less room for your plants to grow.

Growing

Garlic really doesn’t require too much care.

  • Make sure you don’t over-water. This can lead to root rot and/or fungal issues. Water every 3-5 days.
  • Pull weeds weekly to keep the nutrients flowing to the good guys.

Pest Control

Garlic is a natural insect repellent! The smell keeps a lot a pests out of the garden ranging from bugs to deer. I like to plant Garlic & Basil with my Tomatoes to help keep everyone pest free as naturally as possible!

Harvesting

When the tops of your garlic plants begin to get yellowed, or start dying, that is the time to harvest.

  • Gently dig up with shovel, spading fork, or trowel.
  • Brush off dirt/mud.
  • Keep wrappers on bulbs in-tact.

Storing

  • Hang in cool, airy place to dry & cure for 2-3 weeks.
  • You can braid softneck varieties to save space.
  • Flavors will intensify after curing.

Growing garlic is fairly easy – the hardest part is bending over to plant & weed, but there’s not too much maintenance in-between! Garlic can store for up to 6 months, so if you planted a lot, you’ve still got time. And if you really have too much, hit up your local farmer’s market & you’ll sell out in no time.

If you have any questions or comments, please feel free to drop me a line AND please feel free to check out my most recent YouTube video on “How to Harvest & Store Garlic”.